I grew up in a vegetarian household, so it’s pretty safe to say the things we ate were not exactly ‘the norm’. We ate cheesecake made from tofu, homemade hummus and brown rice. The shelves in our laundry were always full with mums preserves and apparently, although I don’t remember it well myself, there was often a jar of milk kefir fermenting away in there too.
Many years later when I had kids of my own -kids who don’t tolerate lactose so well- I re-discovered this amazing stuff and have been hooked ever since. There are two types of kefir, milk and water, and while I do actually prefer the water kefir myself, it’s the milk kefir grains that I currently have at home. Four years ago when I re-discovered kefir it was the biggest blessing, prior to that we hadn’t eaten any dairy what-so-ever for over 2 years and I can’t even begin to tell you how much I missed that yogurt tang, especially in smoothies. Nowadays kefir is becoming more well known and while I know there are a few companies who sell it (mostly in smoothie form), it’s so easy and much more cost-effective to make it yourself. Not to mention, better quality. From what I know, most commercially made milk kefir is fermented using just a little of the strained kefir itself. However, the good stuff that you make at home is made using milk which is fermented with actual kefir grains, which means more goodness of course!
Basically what you do is add the grains to milk, cover and leave to ferment overnight. The next day the grains are strained out and re-used for your next batch. The sour, tangy pouring-yogurt consistency liquid you are left with is really something quite magical. Not only is it brimming with minerals, vitamins, amino acids and enzymes, but also probiotics and beneficial yeasts. And the best bit? The end product is virtually lactose-free, as the grains digest it for you!
A simple google search will pull up loads of people either selling or giving away kefir grains, and as the grains multiply every time you make a fresh batch, you’ll always have an endless supply to give away to friends and family, should they ever ask about that weird curdled jar of milk in your pantry… For my Australian friends, this is an awesome resource to find kefir grains + kombucha scobys in your area.
* Food 52 have featured this recipe on their site today! Click on over for a little more detailed history of this awesome stuff. I also have more info about both milk and water kefir in my cookbook and this post from years ago.

milk kefir
You can use plant-based milks such as rice, almond or coconut milk in place of the cow’s milk, but the grains won’t multiply like they normally would and you’ll find you need to ‘perk’ them up every now and then in cows milk to keep them happy. Organic milk is best, or even better would be raw milk if you can source it, but plain everyday homogenised milk is fine. The fermentation process is said to replace a lot of the goodness that is lost through pasteurisation and homogenisation. You can use milk kefir as a base in smoothies, or in place of yoghurt or buttermilk in recipes. If you’re hard core, you can also just have shots of it to get your daily dose of probiotics.
Makes 1 litre
4-6 tablespoons milk kefir grains
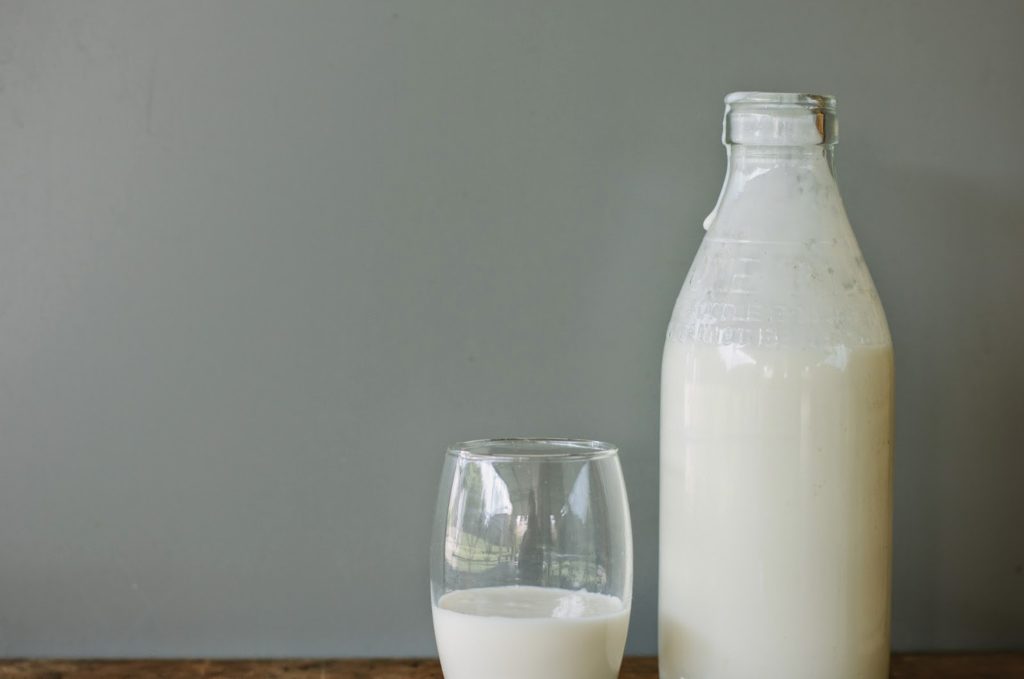
1 litre milk
a suitable 1 litre glass jar
a small square of muslin/material
1 rubber band
1 large plastic sieve
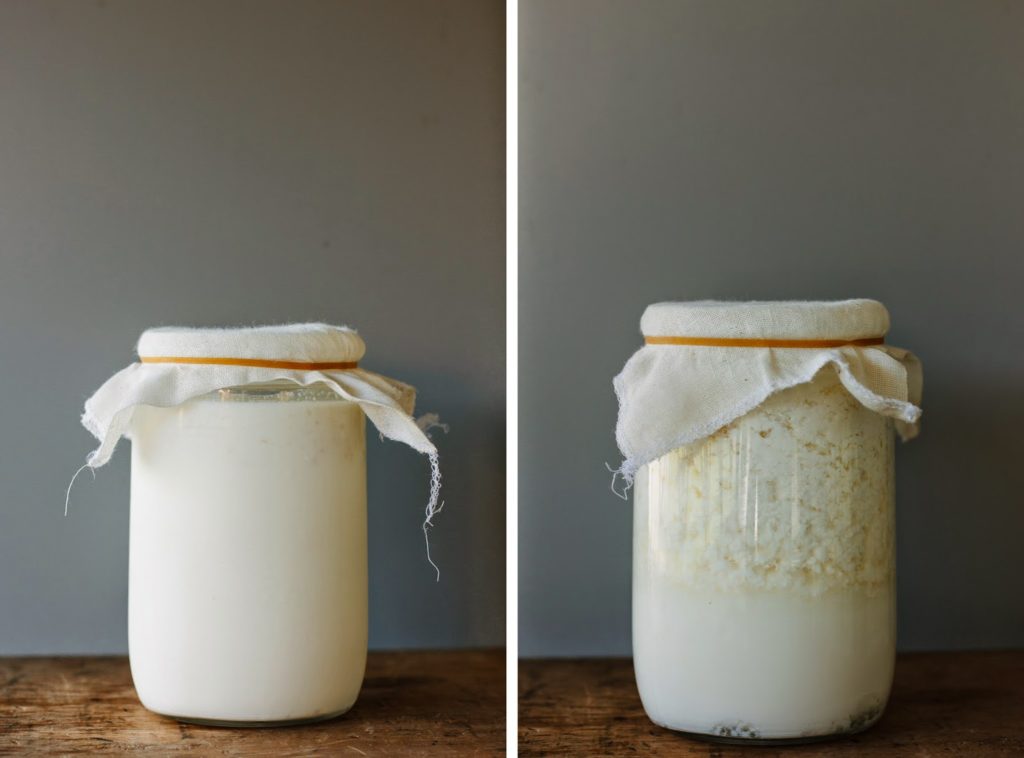
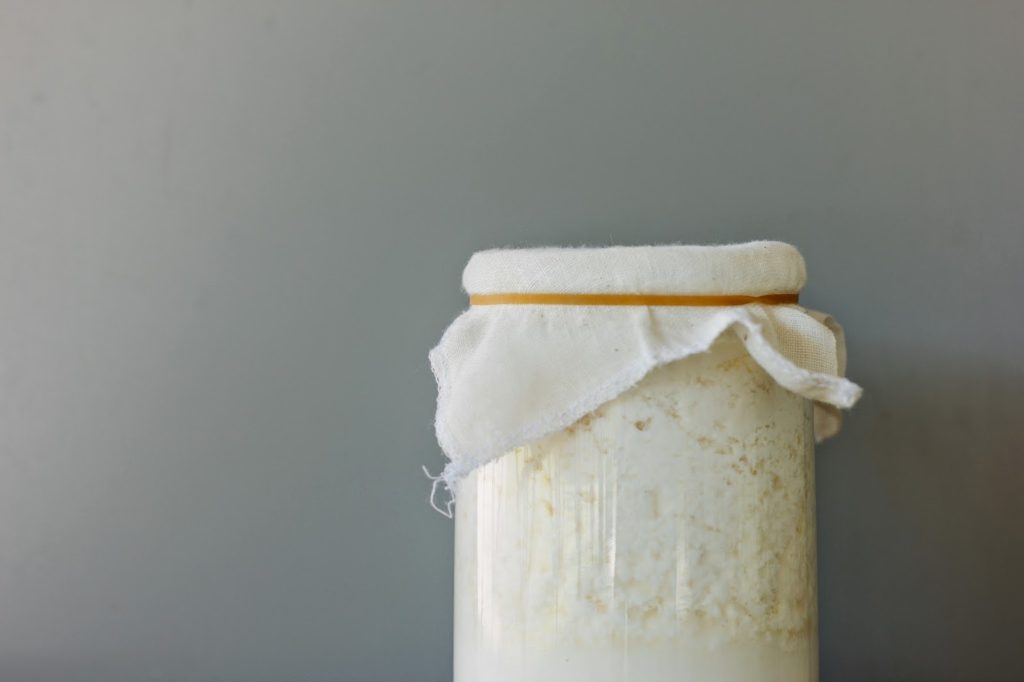
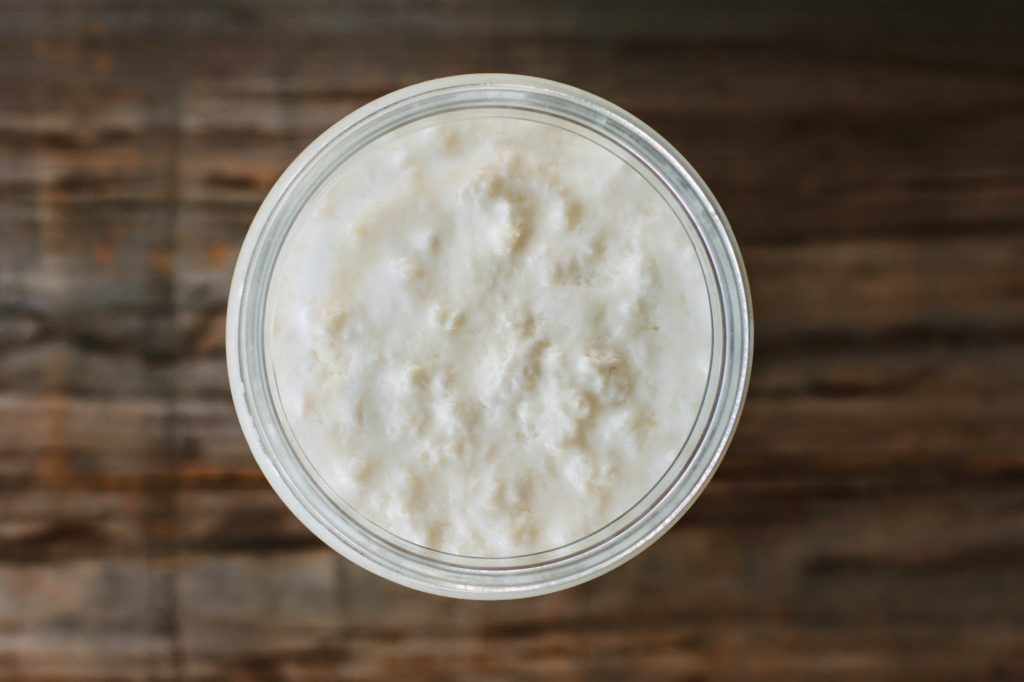
Pour milk into a large glass jar, add kefir grains. Cover the top with muslin then secure in place with a rubber band. Place jar in a dark place (I put it in my pantry) and leave for 12-24 hours until you see it starting to separate into curds and whey. In summer it will ferment quickly, but in winter it will take a little longer.
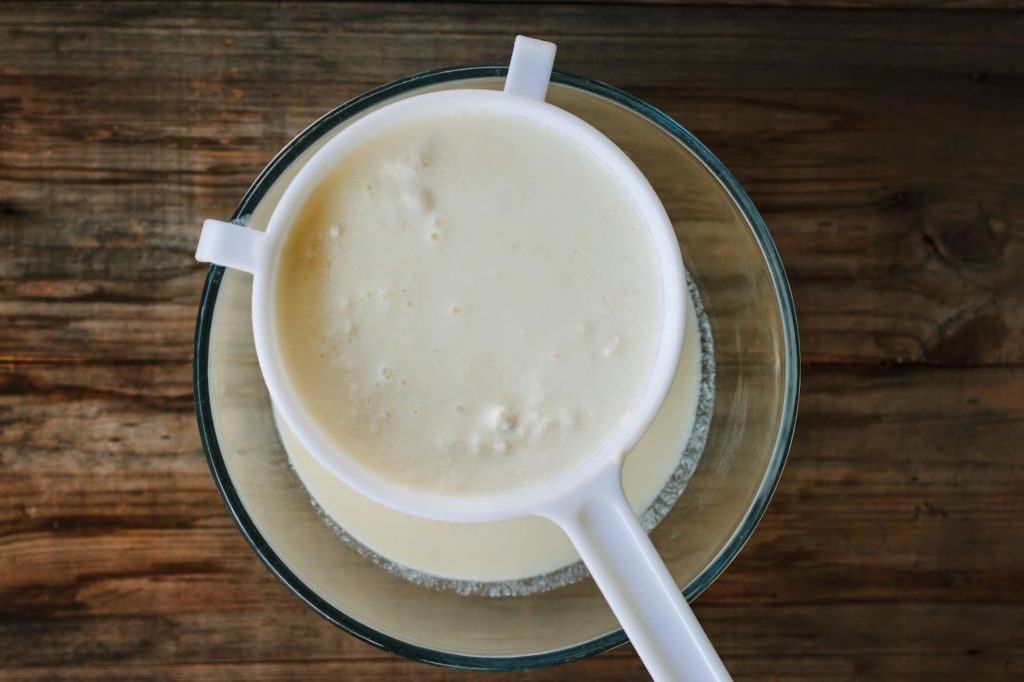
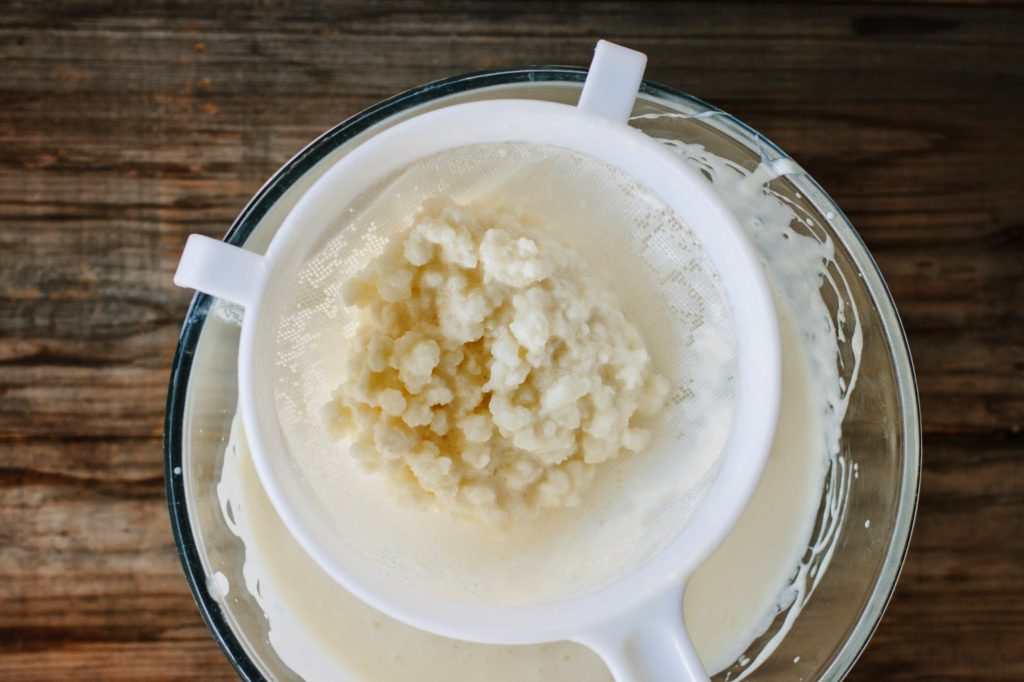
Pour the entire contents of jar into a plastic sieve placed over a bowl. Gently shake sieve from side to side to let kefir drain through (if you have left it a little bit too long and there are some really solid bits, I just sit the sieve in the bowl and using the drained whey I mix it gently back into the grains to loosen any really firm curds then re-strain. The kefir will then strain through easily and you’ll be left with the cauliflower-like ‘grains’ in the sieve). The strained kefir is then ready to use or can be stored in the fridge for up to a week. To further increase the B vitamins you can leave the strained kefir at room temp for one day or more if in the fridge.
Use the strained kefir grains to make your new batch in a clean jar, there’s no need to rinse the grains between batches.
You can make as little or as much as you want, I usually make 1/2 litre every other day (and I slow things down a bit if I have a backlog by letting it ferment in the fridge instead of in the pantry). If you only have a tablespoon or two of grains to begin with, just use a cup or two of milk to begin with, until your grains have multiplied enough to ferment more milk.
Excess kefir grains can also be frozen by rinsing well, patting dry on a clean cloth, lightly coating in milk powder and freezing in a double lined plastic bag. Kefir made from frozen grains however may take up to three months of fermentation before consistently good batches are produced.


37 Responses
This is too, too cool, Emma! I love kefir with a passion — it reminds me of this Chinese drinkable yogurt my grandfather used to have every morning for breakfast when I was small. I need to try making it at home sometime soon. Thank you for sharing!
Ah cool! You'll love the homemade stuff then 🙂 xx
Growing up in your house sound amazing! I would have loved it.
I have to try this homemade Kefir, it looks so simple!
It's super simple! Hope you try it xx
I used to do milk goat kefir. I had to give up on doing it because I was away from home for a month. I miss it so much. I hope to find my starter grains soon. I made everything with kefir , smoothies, salad dressing, muffins….
It's great in baking eh? If you do find some more grains and get back into making it, I've found the grains are ok left for 3-4 weeks in the fridge. So long as you leave them in a huge jar of milk (much more than you normally would). When you get home, strain off the liquid and discard, rinse the grains under filtered water and then start again. They may be a little slow to ferment the milk to begin with, but they should come back to life no worries. xx
Why if you didn't use cheese for the cheesecake, you had milk?
We ate dairy in small amounts growing up, although mostly we had goats milk and used tofu in things like cheesecake!
We love our kefir too. I'm currently making it with coconut milk and find I have to alternate between one batch of coconut (about 48 hours) and then a small jar of cows milk to puff them up again. I find using coconut milk with additives in it is very hard on my grains so now only use the AROY-D (or another brand without additives) coconut milk that has no additives I think I could do 2 batches of coconut milk then pop it back in cows milk. Great post Mx
Ah that's interesting to note what happens when you use coconut milk with additives! I only ever buy coconut milk with no nasties and I've found much the same as you, that after 2-3 batches in coconut milk the grains need a little boost of lactose from the cows milk xx
I've read in several places on the internet that it is possible to use 1/2 coconut milk and 1/2 dairy milk to make kefir. This prevents you from having to switch back and forth. I plan on trying that when my new grains are up to par.
Thank you for the link! I've been reading about kefir and wondering where to get some grains.
You're welcome! It's a great resource the ladies at Pink Farm have created! xx
I've never had any kefir so it was so fascinating to read about it! The grains multiply? Whoa, I really can't wait to make some. Thanks for sharing, Emm!
Oh yes, they multiply like crazy!!
My partner loves kefir, I think we'll be trying a homemade version soon. Thanks for showing how easy it is!
You're welcome, hope you give it a go xx
Beautiful post Emma! I grew up drinking kefir every night and nowadays I make it for Paloma. I actually just brought new kefir grains all the way from Russia. Kefir and other fermented dairy products are such a part of that culture that there is a store on every corner that sells such products. I didn't know that kefir is lactose-free, that's fascinating.
Oh wow, that is so cool Anya! Wish we were all more educated on fermented dairy products down these ways! If all those thousands of people who live of that sugary yakult drink only knew about homemade milk kefir… they'd save themselves loads of money and have a much healthier gut! xx
i recently purchased kefir milk from the store and absolutely loved it. I turned it into mango lassi – amazing stuff. i have not really looked into kefir grains but i shall now.
It's so good in lassi's! Yum. xx
Emma, I love when we return to the things our mother's did:)))
My mom didn't make kefir (that I know of anyway) but that was always the snack I had a the funky little grocery store where we shopped after school. Raspberry was always my favorite.
xoxoxo to you and those cute kiddos of yours,
E
Right back at ya love! That sounds like the perfect after-school snack! xxx
Wow, just the information I need. Thanks so much. I live in Auckland – do you know where I can get kefir grains? And what do they look like? Cost?
Joanne
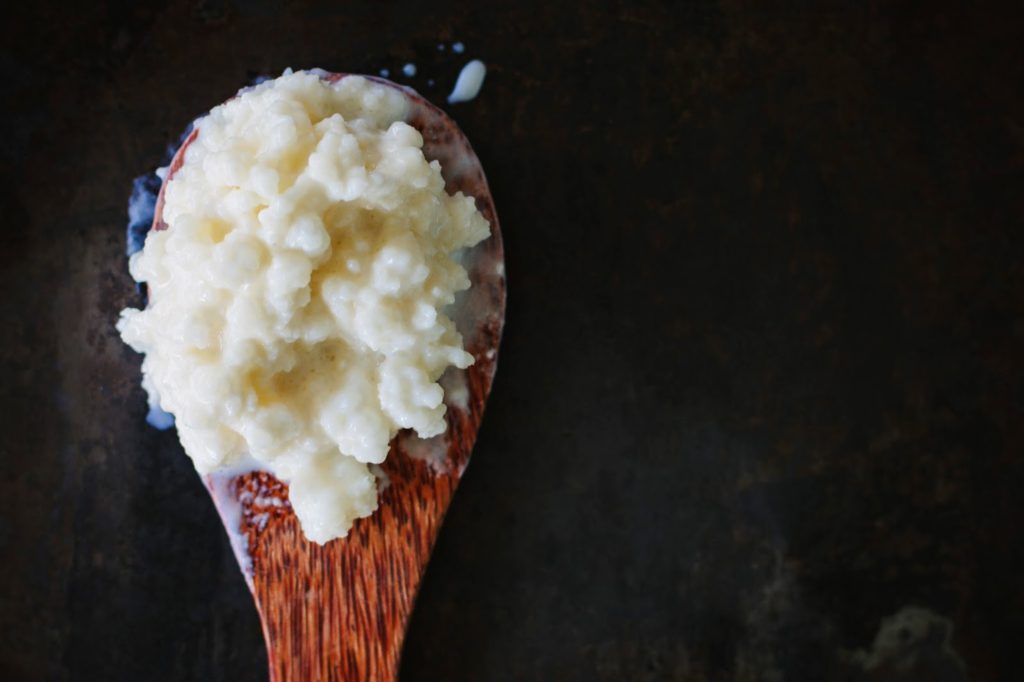
Hi Joanne, google search 'milk kefir grains Auckland' and you should be able to find someone in NZ selling them or giving them away. The first grains I bought years ago were found on TradeMe. I think I paid about $15 for 2 TBSP which is an absolute rip-off! Because they grow so quickly I really don't see how/why people should even be charging for them and I'd maybe look around on the noticeboards of your local healthfood store or online for people giving away their excess instead. The second photo from the top is the kefir grains, on the wooden spoon (and the second from the bottom in the sieve), they look kinda like cauliflower florets… or little brains! They're squidgy too. Good luck!
I am in Auckland and I am selling kefir grains when I have spare, can post it anywhere in New Zealand, have been sharing kefir grains for many years. I grew up with kefir in Russia and know the authentic taste. My kefir grains are very active and come in a pouch, no straining required and you don't need any utensils. I also provide a printed instruction with a family recipe for fresh kefir cheese.
You can email me lenartnz@gmail.com Elena
Awesome, thanks for that Elena.
In Poland kefir is an obligatory element of diet, hahaha. I used to have it with baked potatoes for lunch. Sounds strange but is delicious.
You're so lucky growing up in a country where kefir is simply part of the cuisine Marta! I've heard about a potato dish made with onions and kefir from Poland before but have still not tried it! I must xx
Such an interesting recipe Emm xo
Thanks love! It's great that more and more people know about/are interested in trying kefir nowadays, when I first posted about it 4 years ago people were like 'huh'?! 🙂
So interesting indeed, fermentation is certainly fascinating!
I've never tried kefir but it looks and sounds very good! I love tangy flavours of buttermilk and yogurt, so I would think this would be right up my alley.
Awesome – I have really wanted to give this a go. I bought Dairy Collective Kefir which I enjoyed but making my own would be awesome as it's not cheap and I never drink it all in the 3 days recommended. With this, I could make a smaller lot more regularly.
I don't usually consume any dairy products, but when I do I try to make sure it's either goats milk or something full of probiotics – like kefir!
Never tried making my own though. Such patience!
{Teffy's Perks} X
I have been on such a kefir kick lately! I would love to try making my own as it is not super readily available in my little town.
I am obsessed with kefir and so interesting to read a recipe for it. I grew up in a vegetarian household too and recently introduced my parents to kefir. They love it and will totally share this recipe with them.